
How to Choose the Best 4x6 Direct Thermal Labels

Choosing the right 4x6 Direct Thermal Labels involves more than finding a familiar size. The roll must feed smoothly, print clearly, and stay attached throughout its journey. A label that looks crisp on a desk may smudge after rubbing against a carton. Small details matter.

Label-industry consultant Mike Fairley is a useful reference for application-led thinking. The following is an editorial paraphrase, not a verbatim quotation: “Match the label to the printer, package surface, and conditions it must withstand.” That principle helps buyers compare face stock, adhesive, and coating instead of focusing only on price. Check the printer’s approved roll width, core size, and outside diameter. Then consider whether the label will meet cardboard, plastic, or a textured surface. A strong adhesive on one package may perform poorly on another.

Direct thermal labels need no ribbon, which makes setup simple. But heat, sunlight, friction, and long storage can affect printed images. Think of a parcel label handled at a busy packing bench, then stacked in a warm delivery van. Will the barcode remain readable? Test a sample roll on your actual printer and packaging. Look for clean edges, consistent feeding, and secure adhesion. Not every supplier lists coating or adhesive details clearly. That deserves a closer look. This guide explains how to assess those trade-offs and choose 4x6 Direct Thermal Labels for dependable day-to-day printing.
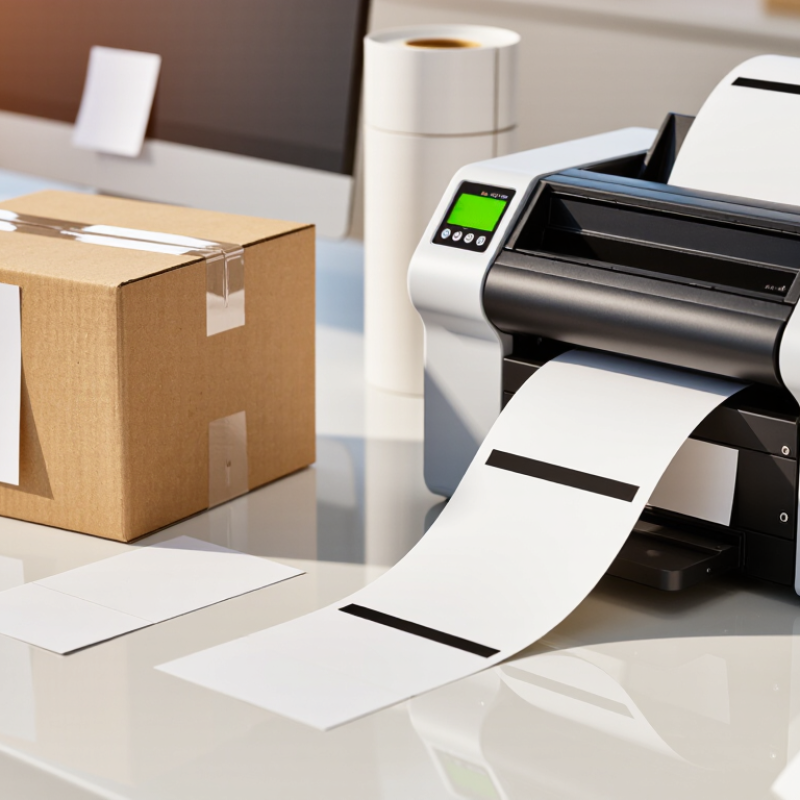
How to Choose the Best 4x6 Direct Thermal Labels

Understand the Specifications of 4x6 Direct Thermal Labels

A 4 × 6-inch label measures four inches across and six inches down, but that alone does not guarantee printer compatibility. Direct thermal stock darkens when heated by a compatible printhead, so it needs no ink ribbon. Check your printer’s supported label width, roll or fanfold format, core size, and feeding direction before ordering. Small differences matter. A roll with the wrong core may not seat properly, while an incompatible gap or black-mark sensor can cause skipped labels or misprints.

The face material and adhesive also affect performance. Paper labels suit many indoor shipping tasks, while a protective topcoat can help resist smudging and light moisture. Direct thermal printing may fade faster with prolonged heat or sunlight, so consider storage and transit conditions. Match the adhesive to the surface: a clean corrugated box is different from a cold, dusty parcel. Check the stated temperature range, too. A common selection mistake is focusing only on price per roll. I would test a small batch first, checking barcode clarity, feed alignment, and adhesion on the actual packaging. Even a label that looks right can curl or print too lightly on a particular setup.

Check Label and Printer Compatibility

A 4 × 6 inch label is not automatically compatible with every direct thermal printer. Check the printer’s supported media width, roll-core size, maximum roll diameter, and sensor type before ordering. A roll may fit the spindle but still feed poorly if its backing gap or black-mark position does not match the sensor. Small mismatch. Big waste.

Print resolution matters, too. 203 dpi printer places about 812 dots across a four-inch label; at 300 dpi, it places about 1,200. That difference can affect small text and barcode edges. GS1’s General Specifications describe barcode sizing through the X-dimension, while ISO/IEC 15416 grades linear barcode print quality on a 0.0–4.0 scale. For dependable scans, test the actual label and barcode at the size you plan to print. MHI’s 2023 Annual Industry Report found that 55% of surveyed organizations planned to increase supply-chain technology investment—a useful reminder that basic media fit still deserves attention.

Confirm that the stock is direct thermal, not thermal transfer, which requires a ribbon. Then check the adhesive against the package surface: a dusty carton and a smooth plastic mailer behave differently. Print a sample. Inspect it after handling and a short period in storage; heat, sunlight, and friction can darken or fade direct thermal images. I would not rely on the label’s advertised dimensions alone. The printer manual and a real feed test are better checks.

Choose the Right Adhesive and Label Material

For 4x6 direct thermal labels, adhesive choice should start with the package, not the printer. A clean corrugated carton usually suits a standard permanent adhesive. Cold storage, dusty surfaces, or recycled cardboard may need stronger initial tack. Removable adhesive can help with temporary inventory labels, but test it first. Residue is frustrating.

Ask for test results on the actual surface. FINAT’s FTM 1 method measures peel adhesion at 180 degrees, while FTM 8 evaluates shear resistance. These industry methods help compare adhesive performance under controlled conditions; they do not guarantee identical results on every carton. Request the dwell time, temperature, and surface used in the supplier’s test report. Small details matter.

Material matters too. Paper labels are economical for indoor shipping, but moisture and abrasion can damage their surface. Synthetic films, such as polypropylene, tolerate handling and splashes better, though they may cost more. Direct thermal images can fade with heat, sunlight, or prolonged storage, so a durable face material cannot fix every exposure problem. I have seen labels look fine at packing, then lose contrast after a warm delivery van. Not ideal. Test a few labels through your real workflow, including cold cartons, rough handling, and barcode scans. One test is rarely enough.

Compare Print Quality and Durability Requirements

A sharp sample print is only part of the decision. For 4x6 direct thermal labels, check whether small text and barcode lines stay distinct at the speed and darkness setting you actually use. A barcode that looks clear on a desk may blur when printing runs faster. Test several labels, then scan them under ordinary warehouse lighting. Small differences matter.

Direct thermal printing uses heat-sensitive coating, so labels can darken or fade with exposure to heat, sunlight, and friction. If parcels sit near a sunny window or rub against conveyor belts, compare samples after realistic handling. A quick scratch test can reveal weak coating, but it cannot predict months of storage. That part is tricky. For chilled goods, let labels cool and warm under expected conditions, then check for fading, curling, or unreadable codes.

Adhesive performance also affects durability. Apply a sample to the actual carton or mailer, press it firmly, and inspect the edges after a day. Rough, dusty, or recycled surfaces can reduce adhesion. It is easy to overvalue a crisp first print; I would weigh scan reliability and label condition after handling more heavily. If requirements are uncertain, test a small roll before committing to a larger supply.

Test Label Performance Before Buying in Bulk

How to Choose the Best 4x6 Direct Thermal Labels

A sample roll can reveal problems that a product description cannot. Before placing a bulk order, print several labels on the printer you plan to use. Check whether the edges stay flat, the text looks sharp, and barcodes scan reliably. Then apply labels to the actual packaging, such as a corrugated box or poly mailer. A label that works on a clean desk may wrinkle on a curved or textured surface. Small tests matter.

Test under ordinary working conditions. Print a batch at your usual speed, then handle the labels and let packages sit in a warm room. Look for fading, smudging, curling, or adhesive that lifts at the corners. If labels will face cold storage or frequent handling, test those conditions too. Direct thermal coatings can respond differently to heat, sunlight, and friction, so one quick print is not enough. Keep notes. Record the printer settings, surface type, and how long each sample remains readable. Results may be imperfect, but they are more useful than guessing.

Tips: Test more than one roll if possible. Compare print clarity and adhesion, and scan several barcodes from different parts of the batch. Confirm that the core and roll size fit your printer before ordering.

How to Choose the Best 4x6 Direct Thermal Labels — Test Label Performance Before Buying in Bulk

Use this screening table to compare unbranded label samples on your own printer and packaging. The suggested targets are practical starting points, not universal industry standards; adjust them to your printer, shipping conditions, and workflow.

Test dimension How to test Suggested screening target Record for each sample
Label size and feed Measure the label and roll; load it and print at least 20 labels. Nominal label size: 4 × 6 in (101.6 × 152.4 mm). Labels feed and register consistently without jams or skipped labels. Measured width and height; jams; misfeeds; alignment issues.
Printer compatibility Print using the intended direct thermal printer, label width setting, and sensor mode. No ribbon required; the printer detects gaps or marks reliably and prints without frequent calibration. Printer and settings; calibration frequency; detection or feed errors.
Barcode readability Print representative shipping barcodes and scan them with the scanners used in your workflow. All test barcodes scan on the first attempt under normal operating conditions. First-pass scan count; smearing, voids, or weak bars.
Print darkness and detail Print small text, fine lines, and barcodes at your usual speed and darkness settings. Text and bars are clear, with no missing areas or excessive darkening. Avoid judging samples at different printer settings. Settings used; legibility; visible print defects.
Adhesion to packaging Apply labels to clean cardboard and the common packaging surfaces in your operation. Press firmly, then check after 24 hours. Label edges remain down and the label does not shift during normal handling. Adhesion varies by surface and temperature. Surface type; edge lift; movement; application conditions.
Handling and abrasion Rub printed labels with a clean, dry cloth using consistent pressure; inspect after repeated passes. Address text and barcode remain readable after the handling typical of your process. Number of passes; fading; smearing; scan result afterward.
Heat and light exposure Keep printed samples in the expected storage and transit conditions; compare them with a sample stored in a cool, dark place. Print remains readable for the required time in your actual use conditions. Direct thermal print can darken with heat or prolonged light exposure. Exposure conditions and duration; fading or darkening; scan result.
Roll and storage quality Inspect the roll edges, winding, core fit, and packaging before loading; store samples as directed. Roll is cleanly wound, fits the printer, and has no visible damage, contamination, or sticking between labels. Roll dimensions; core fit; edge damage; storage instructions.
Cost per usable label Compare total delivered cost against the number of labels that print and apply successfully. Choose based on usable output and performance, not roll price alone. Delivered cost; labels per roll; waste; cost per usable label.

Before placing a bulk order, test samples from the same material and adhesive specification you plan to purchase, using your own printer, packaging, and operating conditions.

t