
10 Tips for Choosing the Best Pressure Sensitive Labels
Choosing the right pressure sensitive labels is a practical decision, not just a design choice. The label must match the product, surface, environment, and application process. A label that looks perfect on a sample can lift from a cold glass bottle, wrinkle on a curved container, or fade under bright light. Small details matter.
This guide covers ten factors, including label material, adhesive strength, surface shape, temperature, moisture, print method, finish, and dispensing speed. Check the actual container, not only a specification sheet. Test labels after application and, where relevant, after refrigeration, handling, or exposure to sunlight. A short trial can reveal problems before a full production run. It may still miss something.
Label-industry analyst Mike Fairley is a relevant authority on labeling, but no source quotation was provided here. To keep the introduction reliable, I will not invent words and attribute them to him. The guiding principle is simple: choose labels for the conditions they must withstand. A supplier can help compare options, but share specific details: the container material, surface texture, expected temperature range, and application speed. Those facts make recommendations more useful. The best choice is not always the most expensive one. It is the option that adheres consistently, prints clearly, and performs as intended throughout the product’s use.
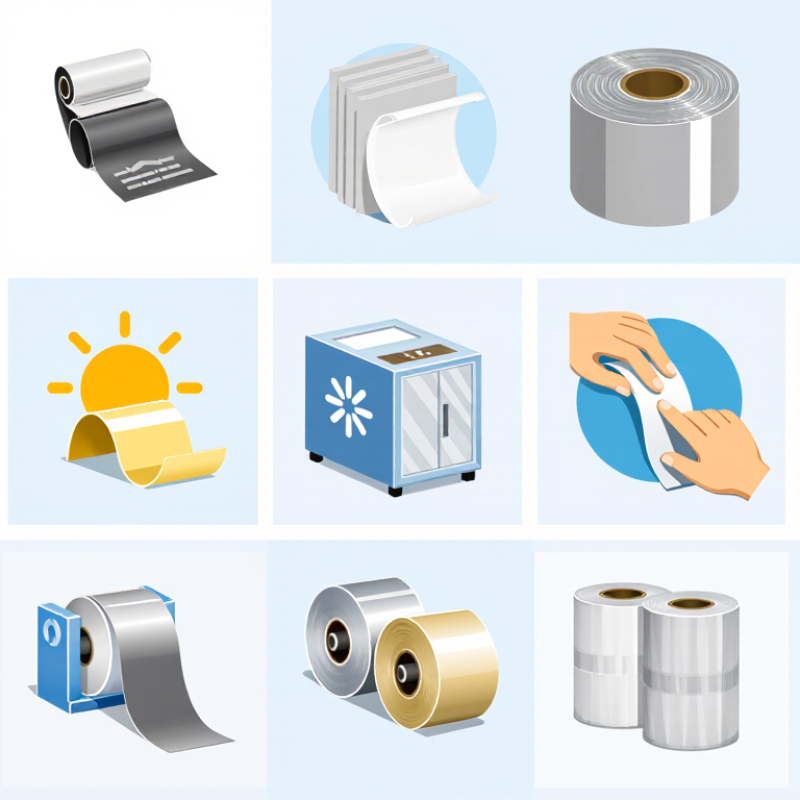
Understanding Pressure-Sensitive Labels and Their Components
Pressure-sensitive labels are layered systems, not simply printed paper. The facestock carries the image and provides the visible surface; it may be paper, film, or another material. Beneath it, the adhesive bonds the label to the package. A silicone-coated release liner protects that adhesive until application. Small differences matter. A textured carton, cold bottle, or curved jar can change how well the label applies and stays put.
Smithers’ The Future of Label Printing to 2028 puts the global label market at roughly US$50 billion in 2023. FINAT’s RADAR 2024 report recorded a 25.8% year-on-year decline in European self-adhesive labelstock demand in 2023. That sharp change followed unusually high demand, so it should not be read as a simple long-term trend. Still, it makes supply continuity worth considering alongside performance.
Evaluate the full construction on the actual package, not just a flat sample. Check adhesion after application, edge lift, moisture exposure, and whether the liner feeds cleanly through the applicator. A label that sticks well at room temperature may struggle on a chilled container. One caveat: even a tidy test can miss dust, condensation, or rushed application on a real line. I still find those details easy to underestimate.
10 Tips for Choosing the Best Pressure Sensitive Labels - Understanding Pressure-Sensitive Labels and Their Components
| Tip | Selection Factor | What to Check | Practical Guidance | Relevant Label Component |
|---|---|---|---|---|
| 01 | Identify the application surface | Consider whether the label will be applied to glass, metal, paperboard, or a curved or flexible plastic surface. | Test the intended label construction on the actual packaging. Surface texture, curvature, and flexibility can affect contact and adhesion. | Adhesive and face stock |
| 02 | Choose the adhesive behavior | Decide whether the label should stay in place permanently, be removable, or be repositionable during application. | Match the adhesive to the removal or holding requirement. “Removable” performance depends on the surface, application conditions, and time in use. | Pressure-sensitive adhesive |
| 03 | Account for application temperature | Check the temperature of the product and label when they meet, as well as the intended service temperature. | Ask for an adhesive rated for the actual application conditions. A label applied in a cold environment may need a different adhesive from one applied at room temperature. | Pressure-sensitive adhesive |
| 04 | Consider moisture and exposure | Assess contact with water, condensation, oils, cleaning agents, sunlight, or outdoor conditions. | Choose a face material and adhesive suited to the exposure. For demanding environments, evaluate the complete label construction rather than the face material alone. | Face stock, adhesive, and protective coating |
| 05 | Select a suitable face stock | Compare paper and film materials for appearance, flexibility, durability, and resistance to the intended environment. | Paper is often suitable for general-purpose indoor labels; film materials such as polypropylene or polyester are commonly considered where moisture or durability is a concern. | Face stock |
| 06 | Check printing and finishing needs | Confirm the printing process, color requirements, surface finish, and whether variable information will be added later. | Make sure the face material and any coating are compatible with the chosen printing method and inks. Test legibility and scannability on the finished label. | Face stock and topcoat |
| 07 | Verify barcode and information quality | Review barcode size, contrast, quiet zones, text size, and any required product or handling information. | Print and scan representative samples using the intended equipment. Keep essential information clear and avoid placing it across folds, seams, or highly curved areas. | Printed face stock and coating |
| 08 | Match the release liner to dispensing | Consider whether labels will be applied by hand or machine and what liner stiffness or release behavior the equipment requires. | Confirm liner width, thickness, and release characteristics with the application process. The liner supports the label during converting and is removed before application. | Release liner |
| 09 | Check label size and shape | Measure the available packaging area and account for seams, edges, curves, and required clearances. | Use a size and shape that can be applied smoothly without wrinkles or overhang. Trial the label on the actual package before ordering a production quantity. | Face stock, adhesive, and liner |
| 10 | Test the complete construction | Evaluate the face stock, adhesive, liner, printing, and finished package together under realistic conditions. | Run application and performance trials before full production. Check adhesion, readability, dispensing, and removal behavior after the intended storage and use conditions. | Complete pressure-sensitive label construction |
Related Posts
-
How to Choose the Best Pressure Sensitive Labels for Your Business Needs
-
What Are the Top Printing Shops for Global Buyers?
-
Top 10 Industrial Printing Techniques You Need to Know?
-

Top 10 US Printing Companies for Global Buyers to Consider?
-
Why Are Pressure Sensitive Labels Essential in Modern Packaging Solutions?
-
How to Print Labels Efficiently for All Your Needs?