What Is UV Printing and How Does It Work?
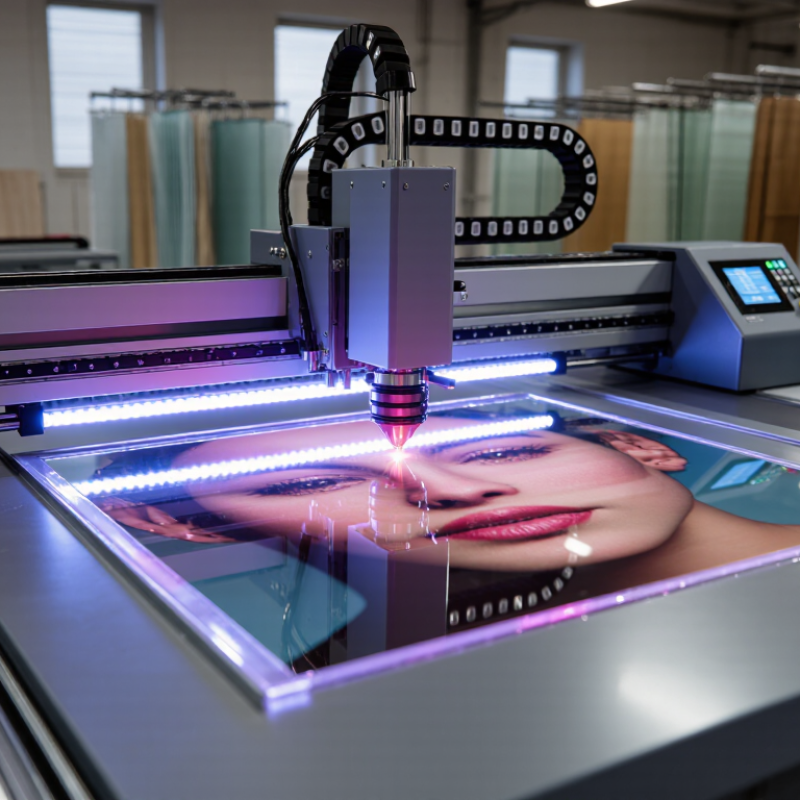
UV printing is a modern digital printing method that uses ultraviolet light to cure ink immediately after it reaches a surface. Unlike traditional inks that may need hours to dry, UV ink becomes solid within seconds. This process creates sharp text, bright colors, and detailed images on materials such as acrylic, glass, metal, wood, plastic, and coated paper. A typical UV printer includes inkjet printheads, specialized UV lamps, and a flatbed or roll-to-roll system.
The process is precise, but it is not effortless. The printer deposits tiny ink droplets while the UV lamps cure each layer. This controlled curing helps reduce smearing and supports raised textures, white ink, and clear varnish effects. In real production, surface preparation matters greatly. Dust, oil, moisture, and uneven materials can reduce adhesion or create visible defects. You printing without proper testing may produce attractive samples that fail during handling.
Small tests matter.
Experienced operators usually check ink adhesion, color consistency, lamp intensity, and material compatibility before starting a large order. Results can also vary between brands, machine settings, and environmental conditions. UV printing offers speed and flexibility, yet it does not solve every production challenge. Some surfaces still require primers, protective coatings, or alternative printing methods. Understanding these limits helps businesses choose reliable equipment and avoid expensive reprints. This guide explains how UV printing works, where it performs best, and why careful preparation remains essential.
What UV Printing Is and How It Differs from Conventional Printing
UV printing is a digital process that cures ink with ultraviolet light during printing. The printer places tiny ink droplets on a surface, then UV lamps harden them almost immediately. The result feels dry as soon as it leaves the machine. It can print on paper, acrylic, glass, wood, metal, and some flexible materials. However, “prints on anything” is an overstatement. Surface treatment and ink adhesion still matter.
Conventional printing usually relies on absorption, evaporation, heat, or oxidation. Ink may soak into paper or need time to dry before handling. UV printing keeps more ink near the surface, which can create sharper details, stronger color, and raised effects. A printed image may show a slight texture under a fingertip. This difference is useful for short production runs, signs, packaging samples, and customized objects.
Preparation decides much of the final quality. I would clean the substrate, confirm its coating, and run a small adhesion test before full production. A fingernail check can reveal weak bonding, although it cannot replace proper testing. UV curing is fast, but excessive ink layers may reduce flexibility or affect gloss. Some curved materials also need special fixtures and careful lamp settings. That part is easy to underestimate. Conventional printing can remain more practical for large paper runs, while UV printing offers broader material options and immediate handling. Neither method is automatically better; the surface, quantity, finish, and durability requirements should guide the choice.
The Main Components Used in a UV Printing System
What Is UV Printing and How Does It Work?
A UV printing system combines several parts that must work in precise timing. The printheads place ultraviolet-curable ink onto the surface. Then, UV lamps cure the ink almost immediately. This process creates sharp graphics on materials such as acrylic, glass, metal, wood, and coated boards.
The ink delivery system controls flow and reduces air bubbles. A carriage moves the printheads across the material, while the platen supports it at a fixed height. Some systems use vacuum suction to prevent movement during printing. Control software manages image data, ink volume, carriage speed, and lamp power. Sensors also check media position and carriage height. In practical testing, small height changes can affect edge sharpness. A perfect setup is rare. Careful adjustment still matters.
Tips: Clean printhead surfaces regularly, and inspect the lamp window for dust. Confirm the material is flat before printing. Run a small test pattern first. It can reveal weak nozzles, uneven curing, or color shifts before production begins. Operators should also verify ink compatibility with the chosen surface. Some materials look suitable but resist ink adhesion. Wear appropriate protective equipment and follow the equipment’s operating instructions. UV light exposure requires caution, even during short maintenance tasks.
How UV Ink Is Applied and Cured with Ultraviolet Light
UV printing uses ultraviolet light to cure ink almost immediately after application. The printer places tiny ink droplets on a surface, such as plastic, glass, metal, wood, or coated paper. A UV lamp then exposes the wet ink to controlled light. Photoinitiators in the ink start a chemical reaction, turning the liquid layer into a solid film.
The curing stage needs accurate timing and energy. Too little exposure can leave the ink soft, sticky, or poorly bonded. Excessive exposure may affect color, flexibility, or surface texture. In practical production, technicians check adhesion with a test pattern, inspect fine text, and measure lamp performance regularly. Surface preparation also matters. Dust, oil, and moisture can weaken the printed layer. A clean test sample often reveals problems before a full run. Still, no process is flawless. Some textured materials need special ink settings or a primer.
Tips: Keep the surface clean and dry. Confirm the material is compatible with UV ink. Use the recommended lamp distance and curing speed. Check the first printed sheet under normal lighting. If the image looks sharp but rubs away, curing may be incomplete. Protective gloves and proper ventilation are also sensible during ink handling, even when the finished print feels dry. Consistent records of temperature, lamp output, and test results can make quality decisions more reliable.
Materials and Surfaces Suitable for UV Printing
UV printing deposits ink directly onto a surface, then cures it with ultraviolet light. The ink hardens almost immediately.
Suitable materials include coated paper, cardboard, acrylic, PVC, glass, aluminum, wood, ceramic, and selected leather products. Rigid sheets usually produce sharper results because they remain stable during printing. Glass and metal may need cleaning, flame treatment, or a suitable primer. Without preparation, the image can peel like a thin sticker.
Plastic films require more caution. Their surface energy, flexibility, and heat sensitivity can change ink adhesion. UV LED curing creates less heat than traditional lamps, but it does not eliminate warping risks. In practical testing, a scratch test and tape test reveal problems that a beautiful first impression may hide. Matte surfaces can also absorb visual contrast, while glossy surfaces may expose tiny dust particles.
Grand View Research estimates the global UV-curable coatings market will expand at about 9% annually through 2030, supporting wider use of UV-reactive formulations. MarketsandMarkets forecasts the digital printing market will reach approximately 47 billion dollars by 2029, up from about 30 billion dollars in 2024. These figures indicate strong adoption, but they do not guarantee suitability for every substrate. Smithers’ packaging research also highlights ongoing growth in digitally printed packaging, where short runs and variable designs are valuable. One limitation remains easy to overlook: curing is not the same as perfect bonding. Surface testing, ink selection, and finishing conditions still decide whether a print survives handling.
Key Benefits, Limitations, and Common Uses of UV Printing
UV Printing: Key Benefits, Limitations, and Common Uses
UV printing uses ultraviolet light to cure ink directly on a surface. The printer places tiny ink droplets with controlled precision. UV lamps harden the ink almost immediately. The printed surface feels dry within seconds. This fast process can reduce handling time and production delays. It also supports printing on paper, plastic, glass, wood, metal, and coated materials. Direct-to-object printing creates detailed graphics on curved or uneven items. However, surface preparation still matters. A test sample remains essential.
The main benefits are sharp detail, vivid color, and little ink absorption. UV ink can produce raised textures and selective gloss effects. Common uses include signs, packaging prototypes, interior panels, labels, awards, and personalized goods. Yet UV printing has limits. Cured ink may crack when flexible materials bend repeatedly. Poorly prepared surfaces can cause weak adhesion or visible scratches. Some materials may also react badly to heat or intense light during curing. Outdoor durability depends on ink quality, surface type, exposure, and protective finishing. Equipment and maintenance costs can be higher than those of simpler printing methods. From practical experience, a rushed test print may look excellent but fail during handling. UV printing is powerful, but it is not a universal solution.
What Is UV Printing and How Does It Work?
UV printing uses ultraviolet light to cure specially formulated ink immediately after it is deposited. The process commonly relies on UVA wavelengths, especially around 365–405 nm.
Key benefits: instant curing, sharp detail, low drying time, and the ability to print on many rigid and flexible materials. Limitations: equipment and ink costs can be higher, some surfaces require pretreatment, and cured ink may have limited flexibility on highly bendable materials. Common uses include signage, packaging, labels, décor, promotional items, and direct-to-object printing.