How to Print Labels for Products?

Printing the right labels to print is more than placing a logo on adhesive stock. It connects product identity, shelf visibility, traceability, and customer confidence. The process begins with practical questions: What surface will carry the label? Will it face moisture, cold storage, friction, or sunlight? Which printer, ink, and adhesive will remain stable?

Industry evidence shows why these choices matter. Smithers’ report, The Future of Labels and Label Printing to 2028, highlights digital printing, automation, personalization, and sustainable materials as major market forces. Grand View Research also identifies steady growth in the global labels market, driven by packaged food, beverages, healthcare, and e-commerce. These reports suggest opportunity, but they do not remove the need for testing. A glossy label may look impressive. It may still peel from a chilled bottle.

Mike Fairley, a respected label-industry analyst and founder of Labels & Labeling, has emphasized that “a label must sell the product as well as identify it.” That principle remains useful when choosing labels to print. A clear barcode, readable ingredients, strong contrast, and accurate color often matter more than decorative effects. Small details matter.

This guide explains how to select label materials, prepare artwork, set printer specifications, and check finished results. It also examines common mistakes, including weak adhesive selection, incorrect dimensions, low-resolution graphics, and untested finishes. Some recommendations may need adjustment for your equipment or product. That is the honest part: there is no universal label formula. Reliable results come from matching design decisions with real handling conditions.
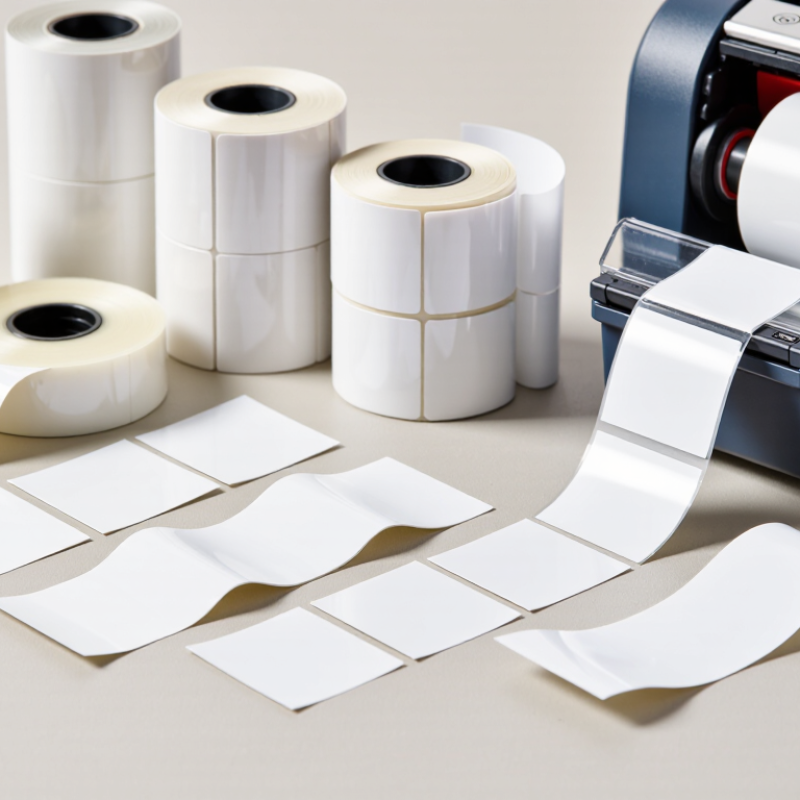
How to Print Labels for Products?

Choose the Right Label Materials and Printer

How to Print Labels for Products?

Choosing the right label material is the first practical decision. Paper labels suit dry indoor products and short storage periods. Synthetic materials handle moisture, friction, and temperature changes more reliably. Check the container surface before ordering a large roll. Curved glass, textured cardboard, and recycled plastic can require different adhesives. Test a small batch.

Your printer must match the material and production volume. Thermal printers work well for simple text, barcodes, and shipping details. Inkjet printers can produce colorful product labels with fine images. Laser printers offer sharp text and consistent small-batch results. Confirm the printer supports your label size, thickness, and roll or sheet format. Measure twice.

Prepare the artwork at the printer’s recommended resolution. Keep important text away from edges and leave space around barcodes. Print a sample, then inspect alignment, contrast, smudging, and peeling. I once approved a label that looked perfect on paper but curled around a cold container. That mistake changed my testing routine. I now test labels after refrigeration, handling, and several hours of storage. Record the material, adhesive, printer settings, and results. This simple record makes future reorders more dependable.

Prepare Accurate Product Information and Label Design

How to Print Labels for Products?

Prepare Accurate Product Information and Label Design

Printing product labels starts with reliable information, not attractive graphics. Record the product name, size, material, quantity, batch number, and storage instructions. Confirm every detail against production records before designing the label. A single incorrect unit can confuse customers and disrupt inventory control. I have found that simple product descriptions are easier to verify. Avoid claims that cannot be supported by testing or documentation.

Good label design makes essential details easy to find. Use clear type, strong contrast, and enough space around each section. Place the product name near the top, then organize instructions and identification codes below it. Check the label at its actual printed size. Text that looks readable on a large screen may become cramped on a small package. My early designs often included too much information. Removing unnecessary wording improved both readability and printing accuracy.

Tips: Create a product information sheet before designing. Ask another person to compare the label with the source records. Test a sample on the real package and inspect curved surfaces, folds, and edges. Check barcode readability with a scanner. Review spelling, measurements, dates, and contact details twice. Keep one approved file and record every later change. A final review should also consider the destination market’s current labeling requirements. Requirements can differ, and assumptions are risky.

Configure the Printer and Label Paper Settings

Start with the label stock, not the printer menu. Measure its width, height, and gap between labels. Check whether the sheet uses continuous paper, die-cut labels, or black-mark positioning. These details determine the correct sensor mode. A small mismatch can shift every design by several millimeters.

In the printer settings, select the matching paper type and set the label dimensions manually. Keep the scale at 100 percent, with no automatic fitting. Adjust the top margin after checking the first test print. The text should sit evenly inside the label, not touch its edge. Set print darkness carefully. Excess heat can blur small letters or make adhesive residue appear. A moderate speed often produces sharper barcodes and cleaner corners.

Load the roll or sheets straight. The paper should move freely, without curling around the guide. Run a calibration cycle so the printer detects each label accurately. Then print three samples, not just one. Compare their alignment, contrast, and barcode readability under normal lighting. I once blamed a printer for uneven labels, but the real problem was a bent paper guide. It was an avoidable mistake. If the result drifts, check the gap size, sensor position, and page margins again. Do not keep changing several settings at once. That makes the real cause harder to find. Some printers need a second calibration after the paper has warmed during longer print runs.

How to Print Labels for Products? - Configure the Printer and Label Paper Settings
Label Use Common Label Size Paper or Media Type Printer Configuration Label Paper Settings Recommended Print Layout Important Checks
Shipping Labels 4 × 6 in
101.6 × 152.4 mm
Direct thermal roll or fanfold thermal media Set the media width to 4 in and select thermal printing. Use a print density suitable for clear barcodes without dark edges. Choose a 4 × 6 in custom paper size. Set the gap, black mark, or continuous-media mode to match the label stock. Portrait orientation; scale to 100%; center the shipping address and barcode within the printable area. Confirm that the barcode is not cropped and that the label feeds one complete label at a time.
Product Name and Price Labels 2 × 1 in
50.8 × 25.4 mm
Pressure-sensitive adhesive labels on a roll or sheet Use the actual label width and height in the printer driver. Disable automatic page scaling. Set horizontal and vertical gaps according to the label template. Use a narrow margin only when the printer supports edge-to-edge output. Portrait orientation; align the product name, price, and barcode with consistent left and right margins. Print a test page on plain paper first and compare it with the physical label sheet.
Inventory or Shelf Labels 3 × 1 in
76.2 × 25.4 mm
Direct thermal or coated adhesive label stock Select the correct label width and use a medium print speed to improve small-text and barcode clarity. Use a custom 3 × 1 in paper size. Enter the correct top margin, side margin, and inter-label gap. Portrait orientation; use a single label per record or a fixed grid matching the sheet layout. Keep the barcode quiet zone clear and avoid placing text over rounded corners or perforations.
Small Asset Identification Labels 1 × 0.5 in
25.4 × 12.7 mm
Small-format adhesive thermal or synthetic labels Use a slower print speed and adequate darkness to preserve the readability of compact characters. Set the exact label dimensions and select gap sensing when individual labels have visible spaces. Landscape orientation may improve the available text width; keep all content inside the safe area. Use short identifiers or compact barcodes. Verify readability at the actual scanning distance.
Product Information Sheets A4
210 × 297 mm
Plain paper, coated paper, or adhesive A4 sheets Select A4 in the printer driver and choose the correct paper tray. Use the paper type that matches the loaded stock. Set the page size to A4 and use the sheet template’s row, column, and margin measurements. Portrait orientation for standard information sheets; use landscape only when the template requires wider fields. Make sure the document page size and the printer-driver page size are both set to A4.
Product Labels on Letter Sheets Letter
8.5 × 11 in
215.9 × 279.4 mm
Laser-compatible or inkjet-compatible adhesive sheets Select the paper type recommended for the sheet. Avoid duplex printing unless the sheet manufacturer permits it. Choose Letter size and enter the template’s exact margins, label pitch, and number of labels per sheet. Portrait orientation is typical; set scaling to 100% or “Actual Size.” Do not reuse partially peeled sheets, as exposed adhesive can cause paper-feed problems.
Water-Resistant Outdoor Labels 4 × 2 in
101.6 × 50.8 mm
Synthetic media such as polyester or polypropylene with compatible adhesive Select synthetic-media settings when available and use a print mode compatible with the label material. Configure the exact 4 × 2 in size and verify whether the media uses gaps, black marks, or continuous backing. Portrait orientation; leave sufficient white space around the barcode and critical product information. Confirm that the adhesive and printed surface are suitable for moisture, abrasion, and temperature exposure.
General Configuration Rule Match the physical label exactly Use media approved for the printer technology Set paper size, media type, print method, density, speed, and sensor mode before printing. Measure label width, height, gap, and margins instead of relying only on a generic preset. Disable “Fit to Page,” “Shrink to Printable Area,” and other automatic scaling options. Run one test label, inspect alignment and barcode quality, then print the full batch.

Print a Test Label and Check Its Quality

How to Print Labels for Products?

Print a Test Label and Check Its Quality

When printing product labels, a test label is more than a quick preview. It reveals problems that may remain hidden on a monitor. Print one label using the actual material, adhesive, ink, and printer settings. Check the barcode, product name, batch field, and date area against the approved file. A small shift can make important information difficult to scan or read. Do not trust appearance alone.

Hold the label under bright, even light. Look for broken lines, pale areas, smudged edges, and uneven color. Rub the surface gently with a clean, dry finger. Then test the label on the intended package. Curved bottles and textured cartons can expose weaknesses that flat samples conceal. Check whether the edges lift after a short handling test. Leave the sample overnight when storage conditions may affect adhesion.

For machine-readable codes, use a verified scanner instead of judging them by eye. Scan several samples from different positions on the sheet. Record failures, printer settings, material details, and environmental conditions. This creates a repeatable quality record for future production. I once treated a sharp-looking sample as acceptable, but its pale corner failed during scanning. That mistake was useful. It showed me that visual confidence can be misleading. Adjust one variable at a time, and print another test label before approving the run.

Apply, Store, and Update Product Labels Properly

How to Print Labels for Products?

Apply, Store, and Update Product Labels Properly

Printing a clear product label starts with accurate information. Confirm the product name, size, batch code, and handling details before sending the file to print. Use a high-resolution layout with readable text and strong contrast. Test one label first. Small text often looks fine on screen but becomes difficult to read after printing.

Apply each label to a clean, dry surface. Dust, moisture, and uneven packaging can cause lifting edges. Align the label with a simple guide, such as the container seam or top edge. Press from the center outward to reduce bubbles.

I once applied labels too quickly during a busy packing session. Several corners lifted the next day. That mistake showed me that speed is not always efficiency.

Store unused labels flat in a cool, dry cabinet. Keep different versions in separate folders and mark each roll with its product name and revision date. When details change, remove outdated stock before using the new version.

Record who approved the update and when it became active. A short review by another trained person can catch missing numbers or spacing errors. It feels repetitive, but it protects accuracy.

Check the printed label against the approved file before every production run.

t